

Claiming your website tells Pinterest that your blog belongs to your Pinterest profile. It is a one-time task, and it changes how every Pin saved from your site is shown and counted. This guide is part of our complete Pinterest business account setup (opens in a new tab), and it covers the four official methods, where the code goes on common platforms and what to check when the claim fails.
Why claiming your website matters for a blog
Pinterest says claiming gives you insight into how often your content is shared on Pinterest, and links your profile to any Pin with saved content from your site. Whenever an image from your claimed website is saved, Pinterest says:
- your profile picture appears alongside the Pin;
- the Pin links to your Pinterest profile;
- people see the option to follow you on Pinterest.
The analytics side is just as useful. Pinterest Analytics can show Pins created or saved by others that drive people to your claimed website, and its Source filter separates your own Pins from Other Pins saved from your site. Pin stats for Pins that other people created from your website also require a claimed site. For a blog, that means you see which of your posts readers pin on their own, not only the Pins you publish.
Pinterest’s profile help adds that claiming is needed to see your website’s analytics and to add a featured logo to your Pins. These are reasons to claim early, ideally right after you set up your profile with the method in our guide to creating a Pinterest business account for search (opens in a new tab).
Before you start: what Pinterest requires
Check these points first, because they explain most failed claims:
- Ownership: you must own the domain, subdomain or subpath, and be able to edit its source code. Pinterest says this rules out most social accounts and online stores hosted on marketplaces such as Etsy, eBay and Amazon.
- One account per website: a website can only be claimed by one Pinterest account.
- Separate domains: each website you claim is treated as a separate domain, unless they route to the same place.
- Account type: Pinterest recommends a business account, although it says one is not required. Our comparison of personal and business Pinterest accounts (opens in a new tab) explains what else changes.
It also helps to add the same website address to your profile first. Under Website in Edit profile, enter your site’s address and click Save.
The four ways to claim a website
| Method | What you do | Good fit when |
|---|---|---|
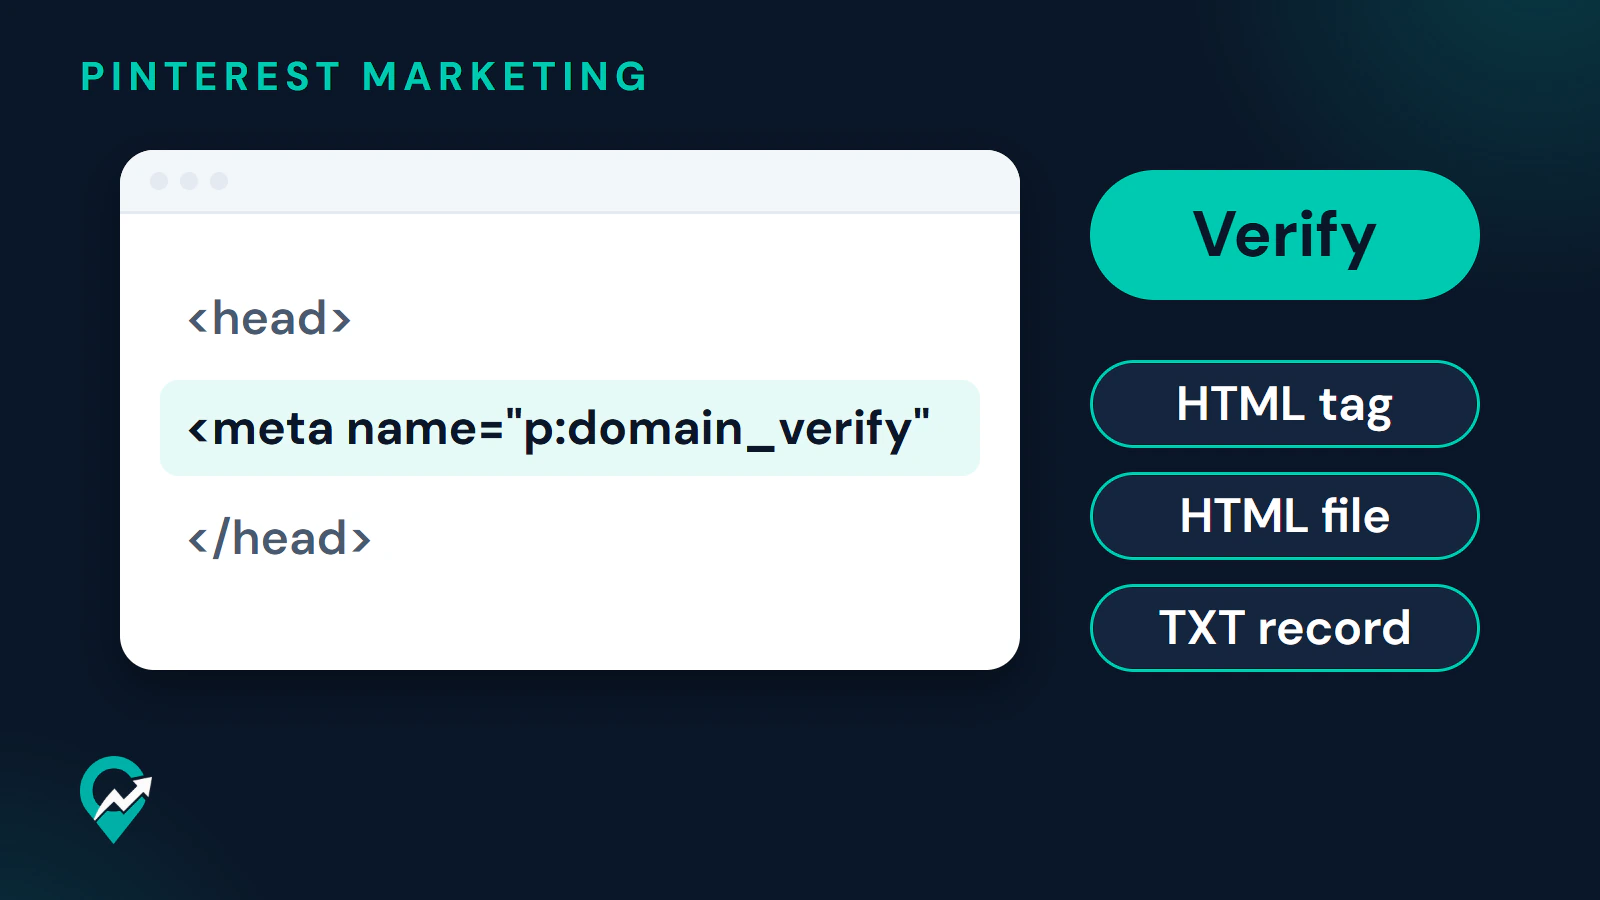
| HTML tag | Copy a personalized tag from Pinterest and add it to the source code of your site | Your platform or SEO plugin has a site verification field |
| HTML file | Download a file from Pinterest and upload it to the root folder of your web server | You can upload files to your hosting |
| DNS TXT record | Copy a personalized TXT record and add it to your domain’s DNS records | You manage your domain at a registrar or DNS host |
| Google Merchant Center | Enter your Merchant Center ID and connect the Google account | Your Pinterest account offers it (currently some accounts only) |
For most blogs, the HTML tag is the simplest route, because the main blogging platforms have a place to paste it.
How to claim your website with the HTML tag
These steps follow Pinterest’s help page:
- Log in to your Pinterest business account.
- Open the menu with the arrow at the top-right corner and select Settings.
- Click Link to Pinterest in the left-side navigation. The same help page calls the list of claimed sites Claimed accounts, so if your Settings show that name instead, open it.
- Click Claim next to Websites.
- Click the text in the box below Add HTML tag to copy it, then click Continue.
- In a separate window, log in to your website and add the tag to the head section of your site, before the body section.
- Return to Pinterest, enter your website URL in the text box and click Verify.
The tag you copy looks like this, with your own code in place of the letters and numbers (this is the format shown in the WordPress.com and Wix guides):
<meta name="p:domain_verify" content="your-code-from-pinterest"/>Pinterest then checks for the tag automatically. Once the site is claimed, Pinterest says you can remove the tag.
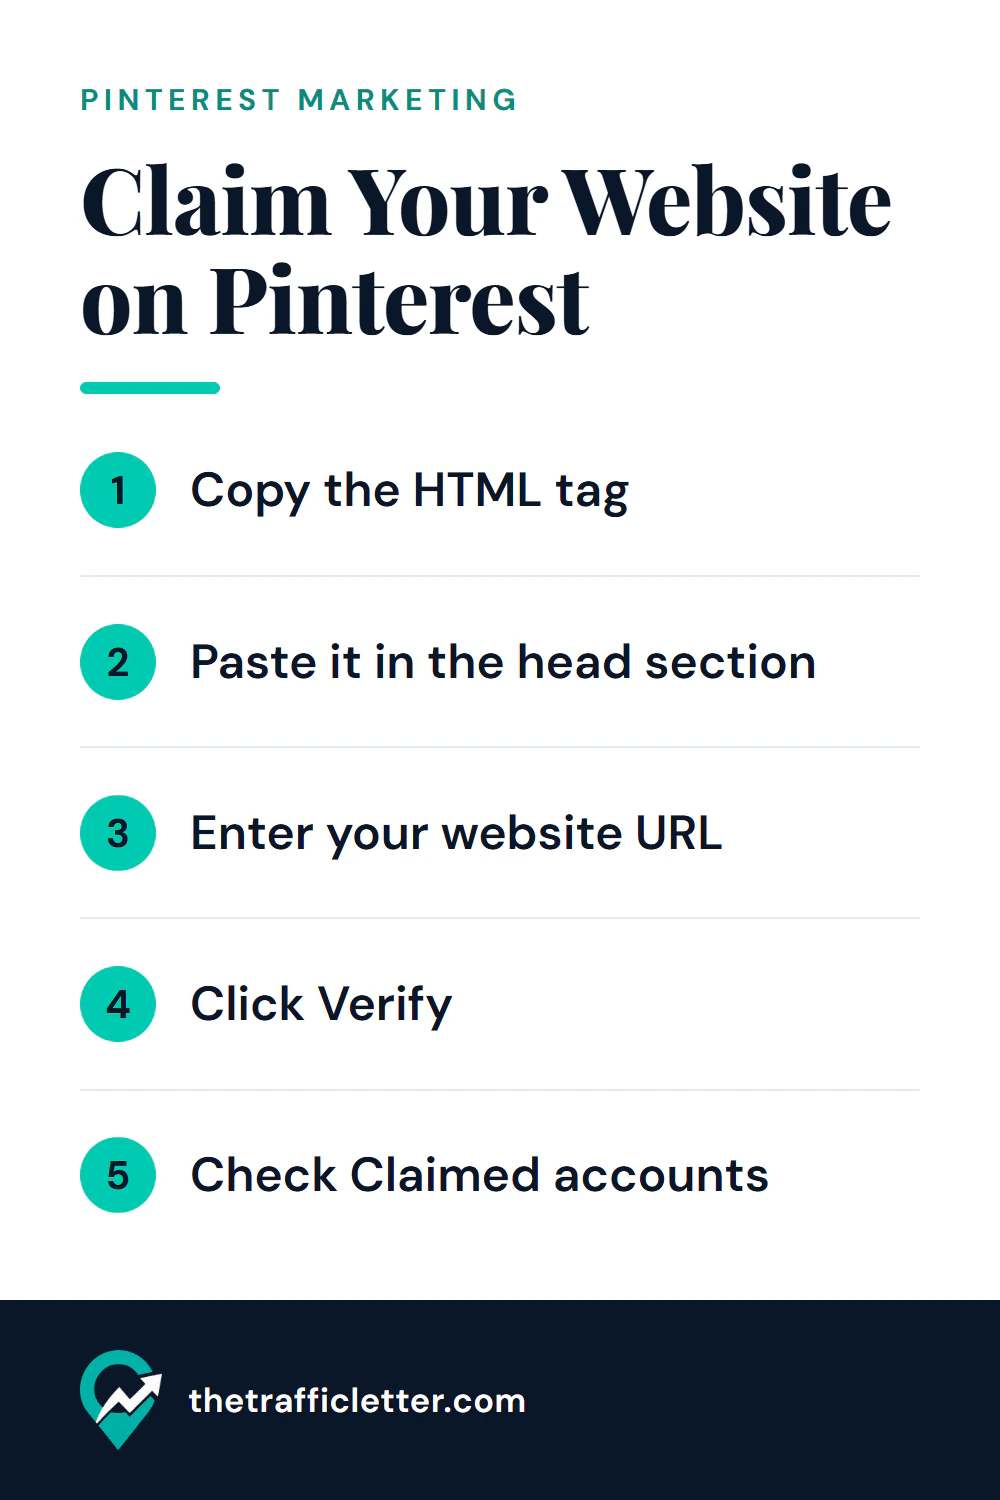
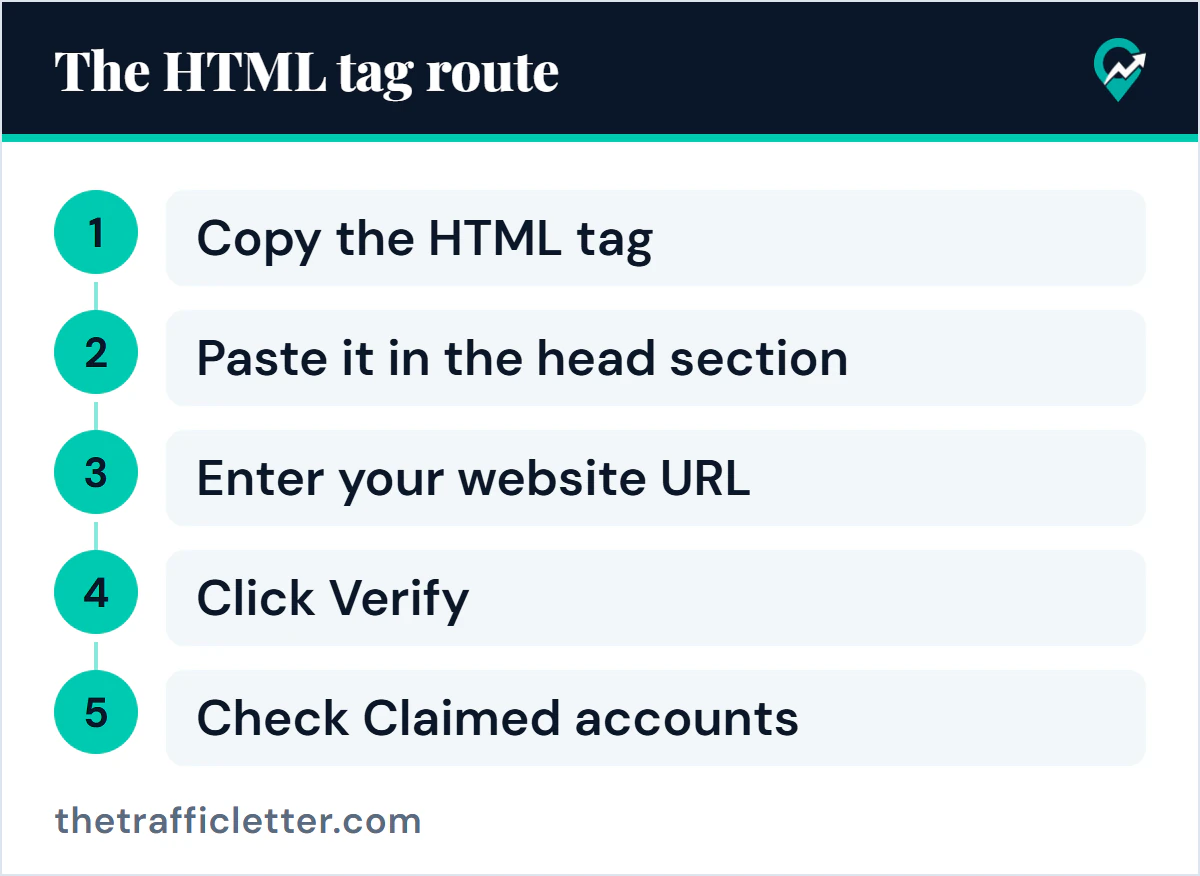
In short, the route has five moves: copy the HTML tag, paste it in the head section, enter your website URL, click Verify, then check Claimed accounts.
Where to paste the tag on common platforms
Step 6 is the only part that depends on your website. Each platform below documents its own location in its official help.
WordPress.com
WordPress.com has a field for Pinterest. In your site’s dashboard, go to Jetpack, then Traffic (or Jetpack, then Settings and the Traffic tab on plugin-enabled sites). Scroll to the Site verification services section, paste the tag into the Pinterest section and click Save Settings. Then return to Pinterest and finish the claim.
Self-hosted WordPress with Jetpack or Yoast SEO
With the Jetpack plugin, go to Jetpack, then Settings, then Traffic in WP Admin, scroll to the Site verification section and paste the tag in the Pinterest text field, then save.
With Yoast SEO, open the Yoast SEO menu, go to Settings, then Site connections. Paste the verification code in the Pinterest field and click Save changes.
Use one of the two, not both, so the tag appears only once.
Shopify
Shopify’s developer documentation says the theme.liquid layout is where content for the head element of every page belongs. In your Shopify admin, go to Online Store and choose Edit code for your theme, then paste the tag inside the head section of theme.liquid and save. Shopify recommends duplicating your theme before editing code, and warns that code changes can be removed when the theme is updated.
Wix
In your site’s dashboard, go to SEO & GEO, scroll to Tools and settings and select Site Verification. Click Pinterest, enter the tag under Site verification tag and click Save. Wix’s guide then has you return to Pinterest, enter your URL and click Verify.
Squarespace
Squarespace’s help describes a different route: connect your Pinterest account from the Connected Accounts panel (Connect Account, then Pinterest, then log in and click Allow). Squarespace notes that it can take a moment for Pinterest to verify your site, and that an error appears if your Pinterest profile listed a different website URL before. In that case, add the correct URL to your Pinterest profile.
Other hosts and builders
Pinterest’s claim page lists help pages for more platforms under Website resources, including Blogger, GoDaddy, Bluehost, SiteGround and Weebly. If your platform has no verification field and you cannot edit the head section, use the HTML file or the TXT record instead.
A prompt to find where the tag goes on your site
If your setup is not listed, an AI assistant can point you to the right place. This prompt works in ChatGPT, Claude, Gemini or any AI assistant. Fill in the square brackets, and check the answer against your platform’s official help before you edit code.
I need to add Pinterest's site verification tag to my website so I can claim it on Pinterest.

My website runs on: [your platform, for example self-hosted WordPress, WordPress.com, Shopify, Wix, Squarespace, Blogger or a custom site]
My theme or template: [theme name, if you know it]
SEO plugins or apps I use: [names, or "none"]
What I can access: [admin dashboard only / file manager or FTP / DNS settings at my domain host]

The tag from Pinterest looks like this:
<meta name="p:domain_verify" content="[your code]"/>

Tell me:
1. The easiest place on my setup to add this tag inside the head section of every page, with the exact menu path from my platform's official help.
2. A backup option if that fails: Pinterest's HTML file uploaded to the root folder of my site, or a TXT record in my DNS settings.
3. How to check that the tag is live by viewing the source of my homepage and searching for p:domain_verify.

If you are not sure of a menu name on my platform, say so instead of guessing.
How to claim with an HTML file or a TXT record
The HTML file method starts the same way in Settings. Click Claim next to Websites, then Download below Upload HTML file, then Continue. Upload the file to your web server at the root folder: Pinterest says it cannot access the file in a subfolder. Return to Pinterest, enter your website URL and click Verify.
For a DNS TXT record, click the text in the box below Add TXT record to copy it, then Continue. Log in to your domain host and paste it into your DNS record section. If your domain host requires it, add @ in the Host field. Pinterest says the change can take up to 72 hours to take effect. Then enter your website URL in Pinterest and click Verify.
With either method, Pinterest checks automatically and says you can remove the file or the record once the site is claimed.
Google Merchant Center (some accounts only)
Pinterest says this option is currently only available to some accounts. If you see it, click Claim next to Websites, then Connect With Google Merchant Center, enter your Google Merchant Center ID and click Connect. Log in with the Google email linked to that Merchant Center ID, check the box next to Manage your product listings and accounts for Google Shopping, then click Continue. It mainly suits online stores that already manage product data there.
How to confirm the claim worked
Pinterest says you can see your claimed websites by going to your Settings and selecting Claimed accounts: they appear under the Websites section. After a while, two more signs appear:
- Pins saved from your site show your profile picture and a link to your profile.
- In Pinterest Analytics, the Claimed accounts filter lets you select your website, and the Source filter shows Other Pins saved from it.
If the claim fails: what to check
Pinterest’s help page sets the conditions, so go through them in order:
- Ownership and code access: you own the domain and can edit its source code. A marketplace shop or a social profile cannot be claimed.
- Already claimed: the site may be claimed by another Pinterest account, including an old one of yours. Log in to that account and unclaim it.
- Tag position: the tag must be in the head section, before the body section. A tag placed in a post or a widget is not in the head.
- File location: the HTML file must sit in the root folder, not in a subfolder.
- DNS delay: a TXT record can take up to 72 hours. Check whether your host needs @ in the Host field.
- Exact address: each website is treated as a separate domain unless they route to the same place, so enter the address your site actually uses.
- Profile URL on Squarespace: Squarespace says a different website URL on your Pinterest profile causes an error.
How to remove or change a claimed website
To unclaim a site, log in to your business account, open Settings, click Claimed accounts in the left-side navigation and click Unclaim next to the website. Pinterest warns that Pins associated with the site are then no longer connected to your Pinterest account. To move to a new domain, claim the new site with any of the methods above.
Right after: what to do once your site is claimed
- Read the claimed website data in Pinterest Analytics with the measuring routine in our blog traffic guide for Pinterest (opens in a new tab).
- Check how your post titles and images appear when people save them, and review how Pinterest search reads your Pins (opens in a new tab).
- Publish Pins for your best posts with titles and descriptions written for search, using our Pin description formula and examples (opens in a new tab).