

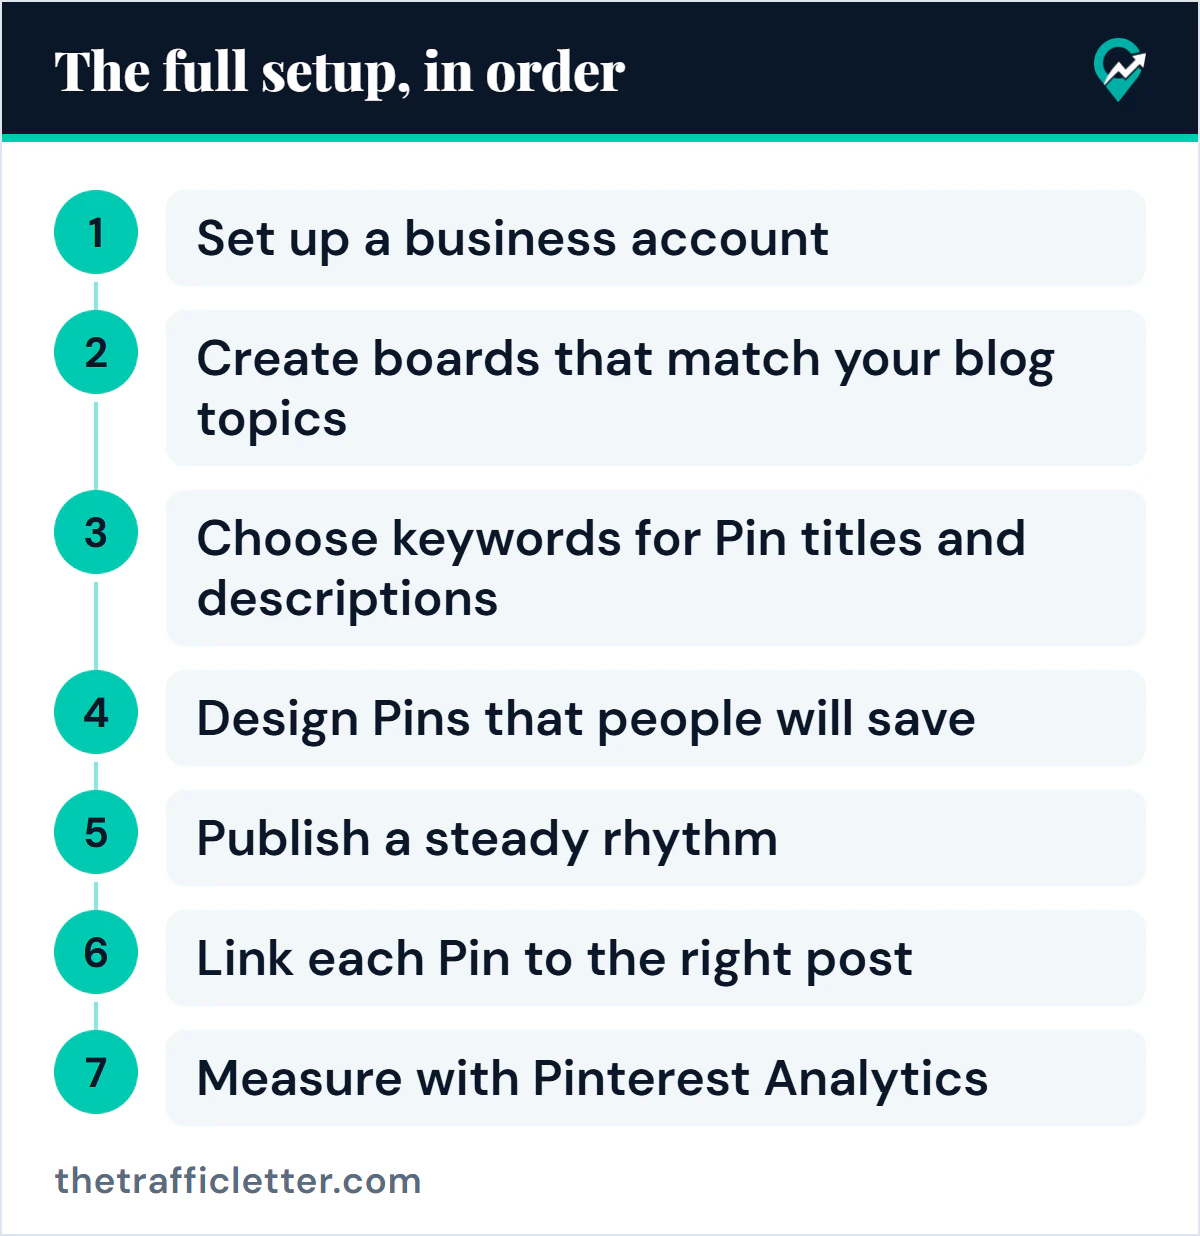
Pinterest works differently from a social feed. People arrive with a plan or an idea to look for, and they use search to find it. This guide walks through the full setup in the order a blogger should do it, from the account to the first reading of your numbers.
How does Pinterest send traffic to a blog?
Every Pin can link to a page on your site. Pinterest describes Pins as content that can link directly to your site, and it lists the places people find them: the home feed, search, related Pins and shopping features. For a blog, the first three matter.
Pinterest also says content is displayed based on engagement signals and topics, not in chronological order, and that content keeps appearing for relevant audiences over time. The practical meaning is that you are building a library of Pins that each point to one post, not chasing a daily news cycle.
Search is the part you control most directly. People type words into Pinterest, so the words in your Pin titles, Pin descriptions, board names and board descriptions need to match what they type. Where those words go, and which advice is documented by Pinterest, is covered in our guide to Pinterest SEO and how Pins rank in search (opens in a new tab).
Step 1: Set up a business account and claim your website
A Pinterest business account is free. It gives you Pinterest Analytics and the Pinterest Business Hub, and you can either create a new one or convert a personal account. For a blog, analytics is the reason to do it: without it you cannot see which Pins send readers to your site. Our walkthrough on how to create a Pinterest business account (opens in a new tab) gives Pinterest’s steps and the profile fields to write for search, and our comparison of what a free business account adds (opens in a new tab) answers the cost question.
Next, claim your website. Pinterest says claiming gives you insight into how often your content is shared and connects your profile to Pins saved from your site. When an image from a claimed site is saved, your profile picture appears with the Pin, the Pin links to your profile and people can follow you. Ideas for that picture and the other profile fields are in our Pinterest profile ideas for bloggers (opens in a new tab).
A few conditions apply. You must own the domain and be able to edit the source code, so you cannot claim most social accounts or marketplace stores. A site can be claimed by only one Pinterest account. You can claim with an HTML tag, an HTML file or a TXT record, or through Google Merchant Center, and Pinterest checks for the tag or file automatically. Where the tag goes on WordPress, Shopify, Wix or Squarespace is in our step-by-step guide to claiming your blog (opens in a new tab).
Rich Pins are worth turning on at this stage. Article rich Pins pull the headline, description and author from your post, and they update when you edit the post. They need the right meta tags on your pages, and Pinterest says it can take up to 24 hours for content to sync.
Step 2: Create boards that match your blog topics
Boards are collections for your Pins, and they are also something Pinterest search can find. Pinterest advises organizing Pins into well-named boards with clear, descriptive titles, and gives “Easy no-bake dinners” as an example of a title that helps with search.
For a blogger, start from your own categories. Each main topic on your blog becomes one board, named with the phrase a reader would search. Details on naming, with examples across niches, are in our guide to Pinterest board names that get found in search (opens in a new tab).
Pinterest lets you edit a board’s name, description and cover at any time, so a first version does not have to be final. Write a short description that says what the board covers in plain words. Structure decisions such as sections and ordering are covered in how to organize Pinterest boards for a blog (opens in a new tab).
Step 3: Choose keywords for Pin titles and descriptions
Pinterest Trends is the official place to check wording. Pinterest says it shows up to two years of top search and save trends by region and can show when people start searching for keywords. You need a business account to open it.
Use it to compare two or three ways of naming the same idea, then pick the phrase people use most. Our guide on finding Pinterest keywords for free (opens in a new tab) shows more ways to research and organize those phrases. Write the Pin title around that phrase and put it near the front. Pinterest’s ad specifications note that only the first part of a long Pin title is likely to show in the feed, which is a good reason to lead with the keyword.
Keep the description natural. Say what the Pin shows and what the reader gets from the post, using the main phrase once and related words where they fit. Pinterest does not publish a keyword formula, so write for the person reading and avoid stuffing a list of terms.
The same words belong on the post itself. A reader who clicks should land on a page whose title and first paragraph confirm what the Pin promised.
 Save
Step 4: Design Pins that people will save
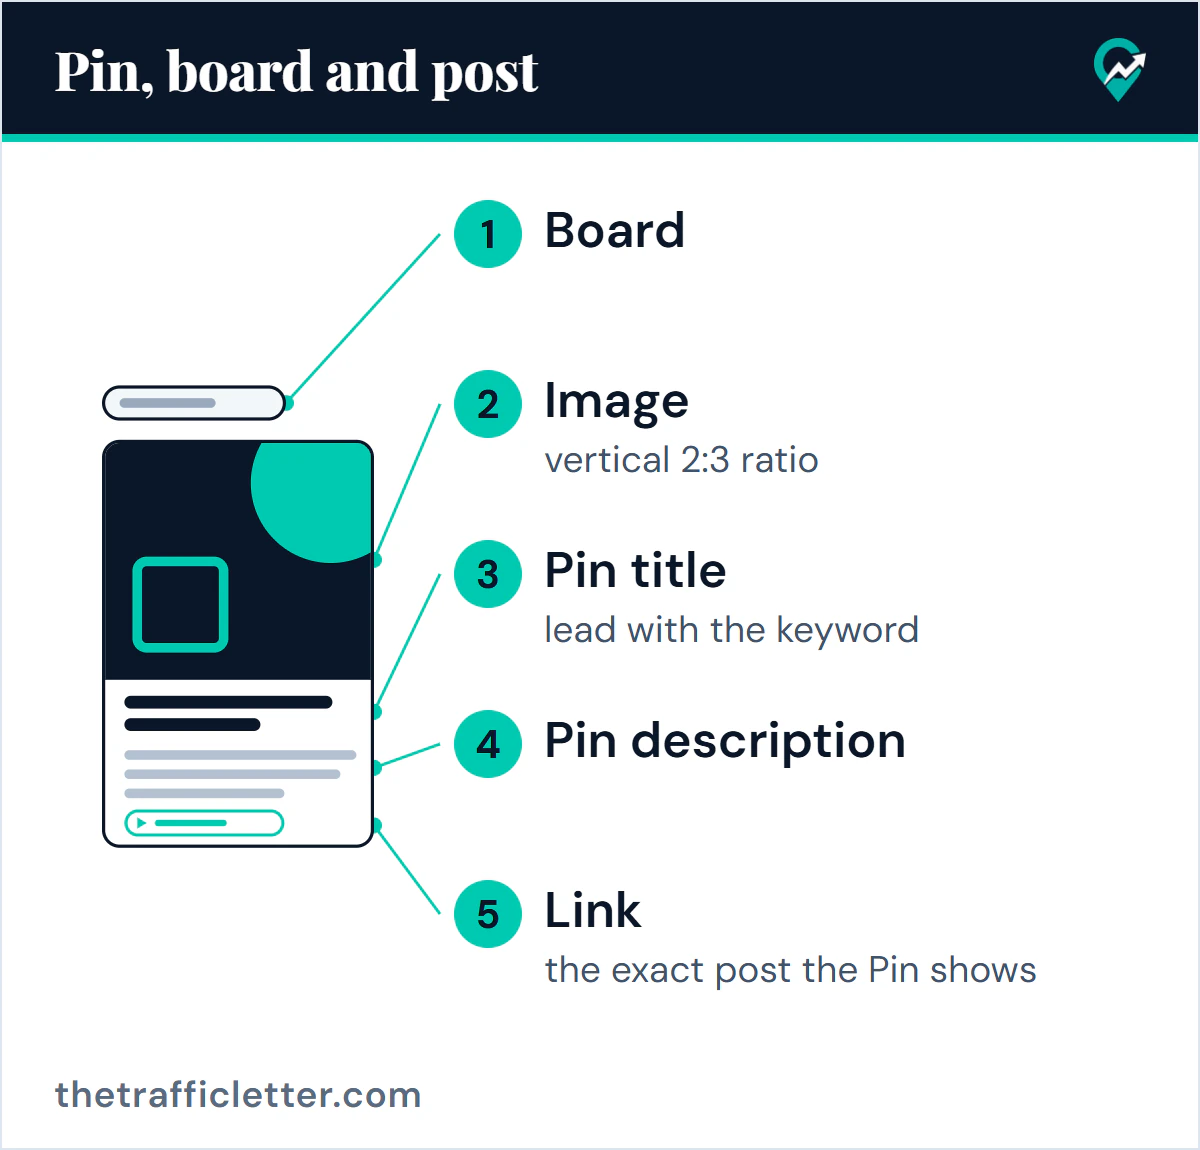
Most people use Pinterest on mobile, so Pinterest recommends a vertical 2:3 ratio, for example 1000 by 1500 pixels. Its specifications warn that taller formats may be cut off in feeds. Square images can be adapted with borders or vertical imagery.
Pinterest’s creative guidance for ads, which applies well to any Pin, is simple: concise messaging, clear branding and a specific call to action on each asset, and a stacked layout with the image in the middle, key text at the top and details at the bottom. For a blog post, that usually means a readable headline that states the benefit, a clean background and your site name in a small, consistent spot.
Saves are the signal worth designing for. Pinterest calls saves the strongest metric of how an idea resonates, and says Pins with high signals of meaningful engagement are recommended across the platform. A Pin that someone wants to keep for later, such as a checklist, a clear how-to or a before-and-after, earns saves more naturally than a Pin that only repeats the title.
Make more than one Pin per post, each with a different image or headline angle, and keep each one honest about what the post contains. To produce those variations faster, our guide to making Pinterest Pins with AI (opens in a new tab) shows which steps AI can draft and which should stay human.
Step 5: Publish a steady rhythm
Pinterest suggests creating new original Pins at least once a week for a steady stream of content. In its beginner guide for creators it says quality and relevance matter more than frequency, and that posting weekly is a good rule of thumb.
A realistic start for a blogger is to publish Pins for each new post and then add fresh Pins for older posts on a weekly schedule. Pinterest also offers a scheduling tool for putting Pin uploads on autopilot, so a batch of work does not have to be tied to the day you publish. The limits and steps are in our guide to queuing a month of Pins (opens in a new tab).
Choose a rhythm you can keep for months, and read what Pinterest says about Pins per week and what counts as fresh (opens in a new tab) before you set a target. Consistency is easier to evaluate than bursts followed by silence, and your analytics will only be useful once there is a record to read. Our guide to the step-by-step order for growing on Pinterest (opens in a new tab) puts this rhythm into a full plan, from the profile to the monthly review. If the traffic is meant to carry display ads, read what the network asks of a site first, for example in Raptive’s pageview and country rules (opens in a new tab).
Step 6: Link each Pin to the right post
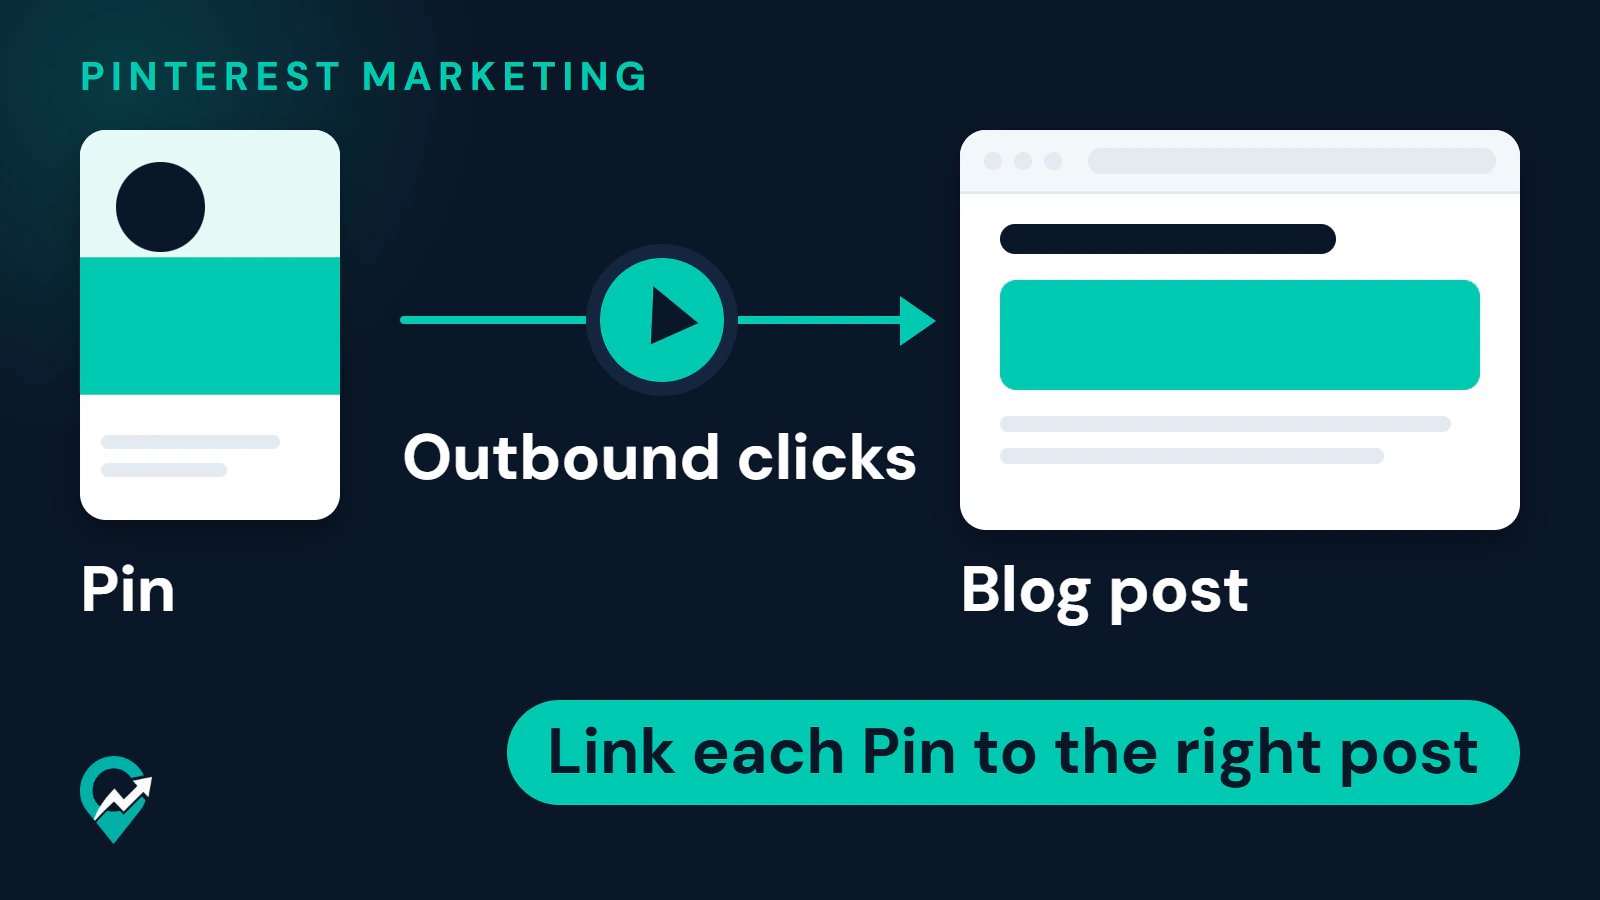
Pinterest recommends adding a URL to make Pins actionable and to drive traffic back to your site. For a blog, the rule is one Pin, one destination: the exact post the Pin shows, never a home page or a category list.
The destination should be a page that loads quickly on a phone and delivers on the promise of the Pin. If a Pin says “weekly meal plan checklist” and the post opens with a long personal story, readers leave and the click was wasted.
Pinterest also supports publishing from your site: you can link an RSS feed and it will create Pins for new images in the feed. Check the Pin titles and boards it chooses, because automatic output is only as specific as your feed.
Step 7: Measure with Pinterest Analytics
Pinterest Analytics is the official tool for this. Every Pin shows core metrics: impressions, saves, Pin clicks, follows and outbound clicks. The overview page shows overall performance, performance over time, top boards and top Pins for the last 30 days, and Pinterest notes that real-time figures are estimates that may change.
For traffic, outbound clicks are the metric that matters, and saves are the leading sign that a Pin is working. Pinterest says the insights can help you decide what to feature in more Pins and which boards to save them to.
A simple review loop is enough to start. Once a month, list your top Pins by outbound clicks, note what they share in topic and design, and make new Pins in the same direction. Retire ideas that get impressions but no clicks by changing the image or headline. Our guide to reading Pinterest Analytics for blog traffic (opens in a new tab) shows where each report lives, gives a fuller monthly routine and explains how to check outbound clicks against Google Analytics sessions.
What should you ignore at the start?
Several things draw attention early and give little in return:
- Follower count. Pinterest points creators to saves, comments, clicks and follows as signals of whether people are inspired, and followers are only one of them.
- Going viral. Pinterest states that going viral is not what the platform is about and that aiming for engagement and relevance is how people succeed.
- Large board counts. A small set of clear boards beats many thin ones, as the board organization guide (opens in a new tab) explains.
- Elaborate scheduling systems. A weekly habit comes first.
Common mistakes when getting traffic from Pinterest
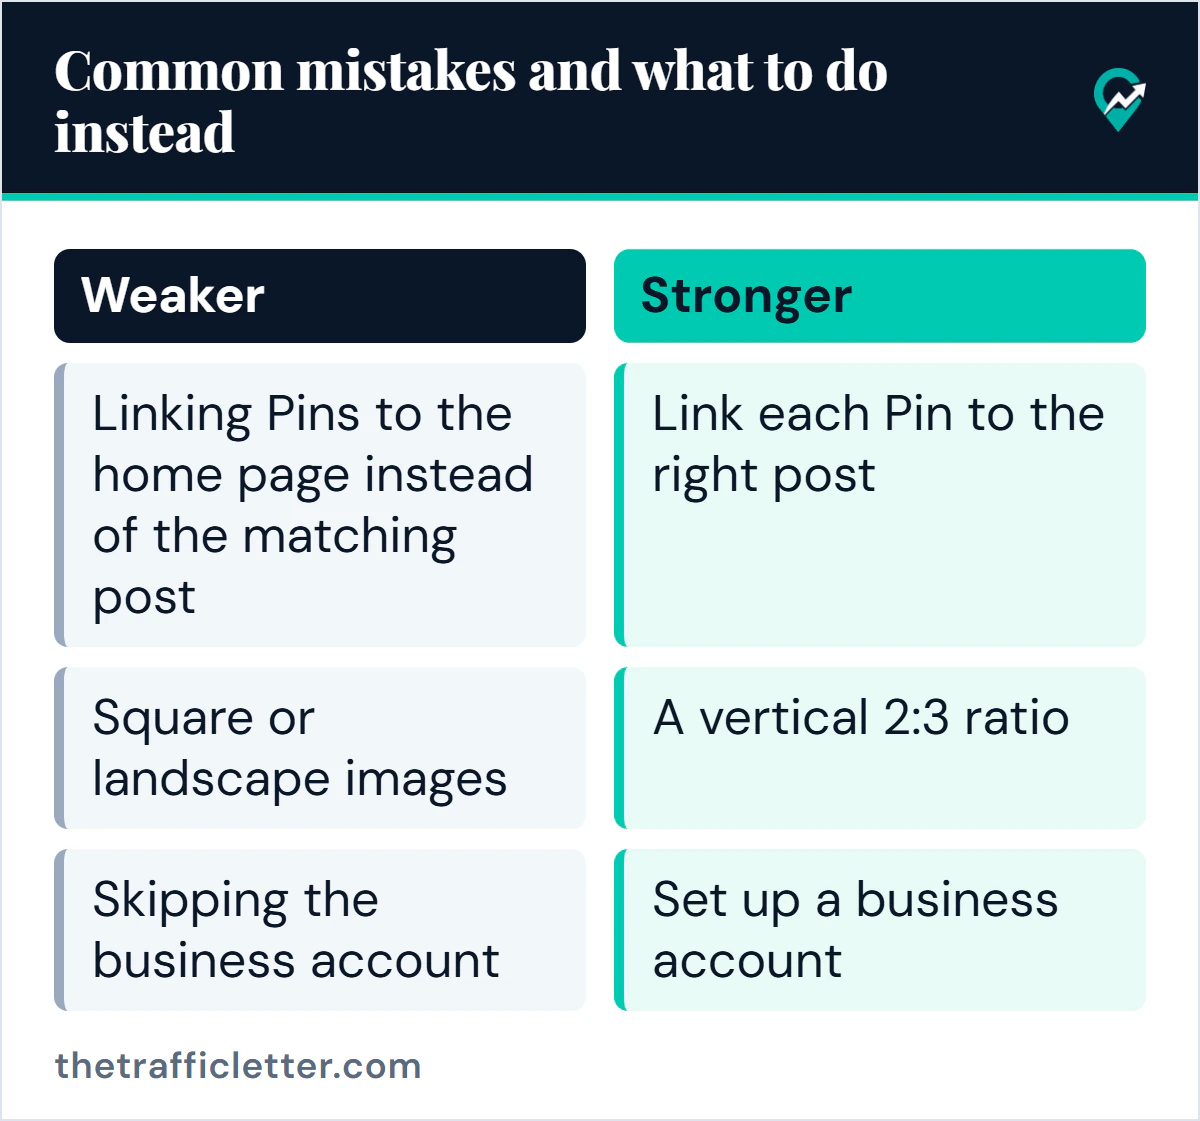
- Linking Pins to the home page instead of the matching post.
- Naming boards with private jokes or vague words that nobody searches. Examples of better names are in the board naming guide above.
- Using square or landscape images that look small in a vertical feed.
- Writing Pin descriptions that list keywords instead of explaining the content.
- Skipping the business account, which leaves you without outbound click data.
- Changing everything at once, so you cannot tell what worked.
- Ignoring Pinterest’s spam rules, which can end in a deactivated account. Read what to do if Pinterest suspends your account (opens in a new tab) for the appeal paths Pinterest documents.
What to do next
Set up the account and claim the site first, since both are one-time tasks. Then create your first boards using the naming advice in our article on board names that match search (opens in a new tab), and publish your first set of Pins this week. Once visits start to arrive, our guide to how to make money with Pinterest (opens in a new tab) sets out the ways those visits can earn, and what Pinterest does and does not document about each. If affiliate links are part of your plan, beginner steps for Pinterest affiliate marketing (opens in a new tab) gives the order of work.