
Scheduling turns Pinterest from a daily chore into a weekly batch: you make the Pins in one sitting and let them go out on the days you choose. Pinterest has its own scheduler, plus two bulk methods, and its limits are written down. This guide is part of our wider Pinterest growth plan (opens in a new tab). It gives the exact steps, what each method can and cannot do, and when a third-party scheduler is worth the extra account.
What to decide before you schedule
Three decisions save rework later.
First, the account. Pinterest’s help page says scheduling is available with a business account, and for standard Pins. If you still have a personal account, our guide to switching to a free business account (opens in a new tab) covers the switch, and the business account is free.
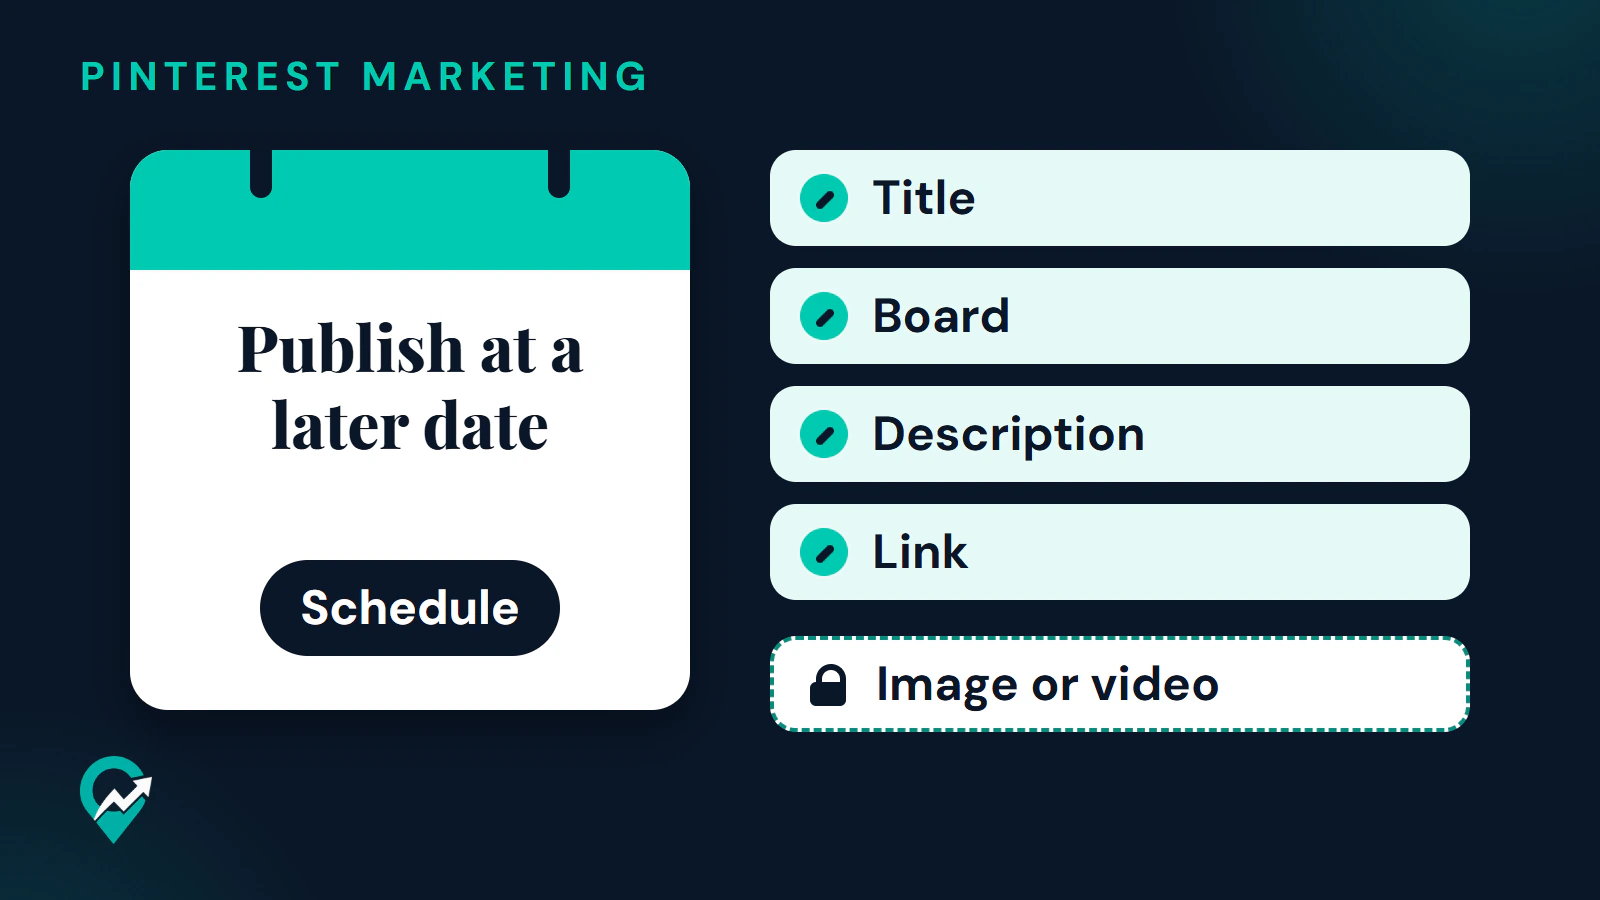
Second, the text. Write the title, description, board and link before you open the Pin creation tool. The image and video cannot be edited once the Pin is scheduled, while the other fields can, so the picture is the part to get right first. For the wording, start from the phrase your reader searches for and put it near the front of the title, as described in our guide to Pin descriptions that match search (opens in a new tab). Our article on picking the main search phrase (opens in a new tab) shows how to pick that phrase.
Third, the day and time. The official pages read for our guide to the best time to post on Pinterest (opens in a new tab) give no best time, so choose from your own analytics and keep a record of what you picked.
Schedule a Pin on desktop
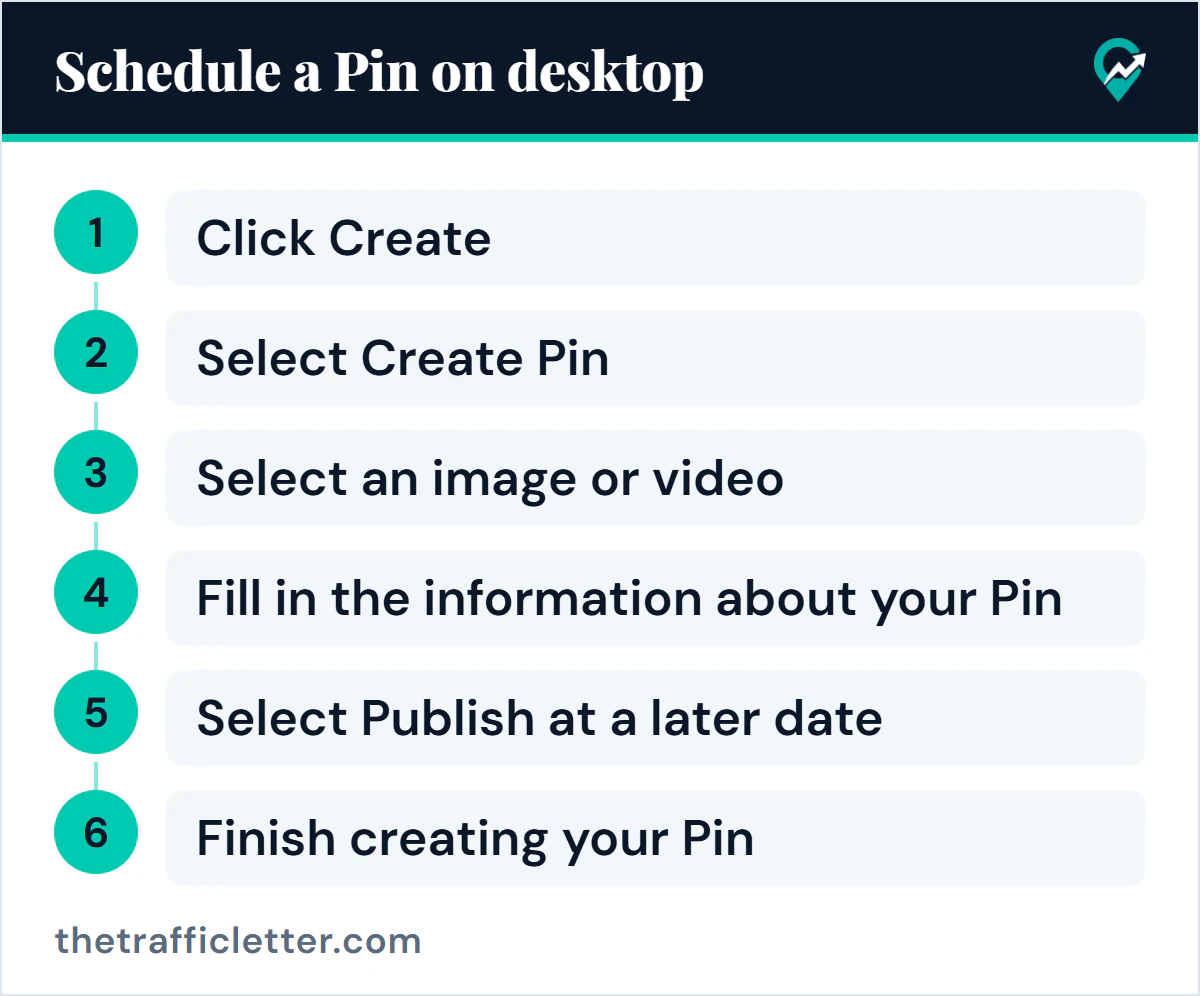
These steps come from Pinterest’s help page for scheduling Pins.
- Log in to your Pinterest business account.
- Click Create at the top-left of your screen. With a business account, select the hamburger icon, then under Create select Create Pin.
- Click the arrow circle up icon to select an image or video. You can select up to 10 images, and each image creates a new Pin. To combine several images and videos in one video Pin, Pinterest points you to the app.
- Fill in the information about your Pin.
- Select Publish at a later date and choose the day and time you want.
- Finish creating your Pin.
Schedule a Pin in the app
- Open the Pinterest app and log in to your business account.
- Tap the plus icon at the bottom of your screen and select Pin.
- Select one or more images or videos from your device. Pinterest says that if you select more than one image or video, they are stitched together into a single video Pin.
- Tap Next, edit the Pin if you want, then tap Next again. With a single image you skip the editing step.
- Fill in the information about your Pin.
- Next to Schedule date (the help page also calls it Schedule publish date on one screen), tap the arrow forward icon. In the help page’s second set of app steps, you tap the arrow forward icon or the pencil icon next to Schedule date.
- Select the date and time, then tap Done.
- Tap Schedule, review the date and time, and tap Schedule again to confirm.
Pinterest Create’s creator workflow article gives the same two labels: Schedule date in the app and Publish at a later date on desktop.
The limits and where scheduled Pins appear
Pinterest’s help page sets out four limits.
- You can schedule a Pin up to 30 days in advance.
- You can schedule only one Pin at a time.
- You can have up to 10 Pins scheduled for the future.
- It may take a few minutes for scheduled Pins to appear on your profile.
To see them, go to your profile. The help page says scheduled Pins sit above all of your published Pins. To delete one, click or tap the ellipsis icon at the bottom of the Pin and select Delete.
After you schedule a Pin, the help page says you can update the publish date, title, board, description and link, and that you cannot edit the image or video. It does not give the steps for editing, so this guide does not either. If the image has to change, delete the Pin and schedule a new one.
The two limits apply together: a Pin can wait in the queue for no more than 30 days, and the queue holds no more than 10. Another Pinterest help page, on Pin performance and distribution, says you can schedule Pins up to two weeks in advance, so check the limit your own scheduler shows before you plan a long batch. If your batch is bigger than that, use one of the bulk methods below. How many Pins make a good week is a separate question, covered in our guide to how often to pin (opens in a new tab).
Schedule in bulk: CSV upload and RSS
Pinterest documents two ways to create many Pins at once, both from the desktop site and both for business accounts.
| Method | Limit Pinterest gives | What it needs |
|---|---|---|
| Pin scheduler | Up to 10 Pins scheduled, each up to 30 days ahead | A business account |
| CSV upload | Up to 200 images or videos at the same time | A business account, desktop only |
| RSS auto-publish | Up to 200 Pins per day | A business account and a claimed website |
CSV upload with a Publish date
Pinterest’s bulk upload page describes a comma-separated value file (.csv) with one row per Pin. The columns it lists are Title (required, 100 characters maximum), Media URL (required, a publicly available link to the file itself), Pinterest board (required; the page says a board or section that does not exist yet is created for you), Description (500 characters maximum), Link, Publish date and Keywords. Thumbnail is required for video only.
The Publish date column does the scheduling. If the timestamp is in the future, the Pin is scheduled for that date. To publish at a certain time you add a UTC time, and the page’s example is 2023-12-17T08:00:00. If you do not specify a time, the Pin publishes at the same time of day as when you uploaded the file, and if the date is formatted wrongly you get an error and the Pin is not published. Leave the date empty to publish immediately.
To upload, log in, click the chevron-down icon at the top-right to open your menu, click Settings and select Import content from the left-side navigation. Next to Upload .csv or .txt file, click Upload. Pinterest sends a confirmation email. The RSS help page names the same area Create Pins in bulk instead, so if one label is missing from your Settings, look for the other.
RSS auto-publish
An RSS feed creates Pins from your blog by itself. Pinterest’s RSS help page says it needs a claimed website, which our guide to claiming your website on Pinterest (opens in a new tab) walks through, and that every item in the feed needs a link to your claimed domain. Pinterest says the Pins appear within 24 hours of a feed update, up to 200 per day, with the oldest content published first. Pinterest Create’s bulk creation page gives 24 to 48 hours instead, so allow for either.
Pin titles and descriptions are built from the title and description tags of each feed item. That means the Pin text comes from your feed, and the RSS help page describes no step for writing a Pin-specific title. Treat RSS as a safety net for new posts, and write extra Pins by hand for the posts that matter.
Write the batch with AI
Titles and descriptions for a batch are the slow part of scheduling, and an AI assistant can draft them. This prompt works in ChatGPT, Claude, Gemini or any AI assistant. Replace the text in square brackets first. The limits in it are the CSV limits above, so the output can be pasted into a bulk upload file; the Pin scheduler’s own form may be stricter or looser, and Pinterest’s scheduling page gives no character limits for the title or description.
I run a blog about [your niche] for [your audience]. I am scheduling Pins for these posts: [post 1 title and URL] and [post 2 title and URL].

Write [number of Pins per post] Pins for each post, each with a different angle.

Limits from Pinterest's bulk upload page: a title is 100 characters maximum and a description is 500 characters maximum. Stay under both.

Rules:
- Each title is a plain phrase a person would type into Pinterest search, with the main keyword near the start. No clickbait and no promises of results.
- Each description is 1 to 2 sentences that say what the Pin shows and what the reader gets from the post, using the keyword once and no hashtags.
- Use only facts that appear in the post summaries I give you. Do not invent numbers or claims: [two sentences per post].
- Suggest one board for each Pin from this list: [your board names].

Output: a table with the columns "Title", "Description", "Link", "Pinterest board" and "Keywords", ready to paste into a spreadsheet. Leave the publish date empty.
Read each line before you use it, and check the character counts in your spreadsheet. Our collection of more prompts for titles and descriptions (opens in a new tab) has more prompts for titles, descriptions and board ideas.
When a third-party scheduler makes sense
Pinterest Create lists third-party content management platforms, such as Buffer and Canva, as API-connected partners that let you plan, schedule and analyse Pinterest content alongside other channels. It also tells creators to consider a third-party scheduling platform to plan, bulk-upload and share across channels. Whether you need one comes down to the native scheduler’s documented limits.
- Use the native scheduler when you publish only to Pinterest, your batches fit within 10 Pins and 30 days, and you want no extra account.
- Add a tool when you post to several networks and want one calendar, when more than one person must approve Pins, or when your queue is bigger than 10 Pins.
Here is what each tool says on its own page. Pinterest also lists all three on its business partner pages. Plans and prices change, so check the current limits on each page before you decide.
| Tool | What its page says |
|---|---|
| Buffer | You can schedule photo, GIF and video Pins, choose the board and add a destination link, title and description. It has a queue, drafts, an approval process and crossposting to other networks, and offers a free plan. |
| Later | A visual planner with weekly and monthly calendar views, scheduling for Pinterest alongside other networks. Later describes itself as a Pinterest Marketing Partner. |
| Hootsuite | You can schedule Pins to several accounts or boards at once, preview how they will look, see them in a calendar next to other networks and set up approval workflows. |
One rule applies to any tool. Pinterest’s Community Guidelines say not to use automation that Pinterest has not explicitly approved, including unauthorized services that perform actions on your behalf, and point to approved partner tools on its Partners website. Connect a scheduler only if it is a Pinterest partner.
Right after: your next actions
- Schedule your first batch this week: write the text with the prompt above, then queue the Pins using the desktop or app steps. Pinterest Create suggests setting aside one day a week, or a few days a month, to plan and schedule.
- Choose publish days from your own numbers by running the test of your own posting times (opens in a new tab).
- Come back in a month and read Pinterest Analytics, as in the monthly routine of our Pinterest traffic playbook (opens in a new tab).