

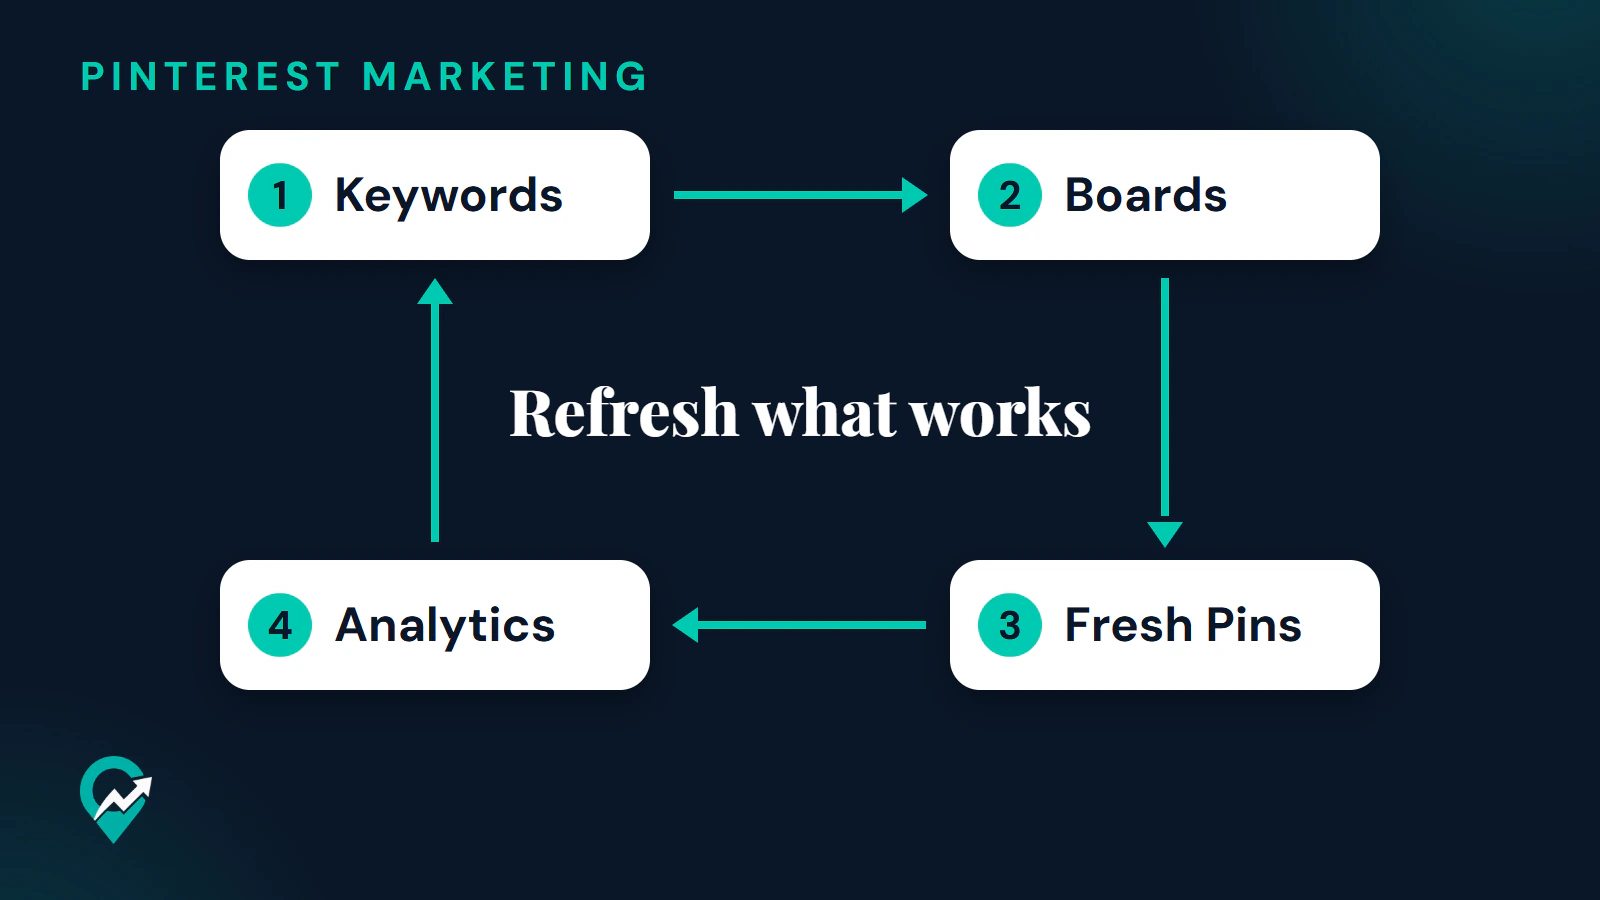
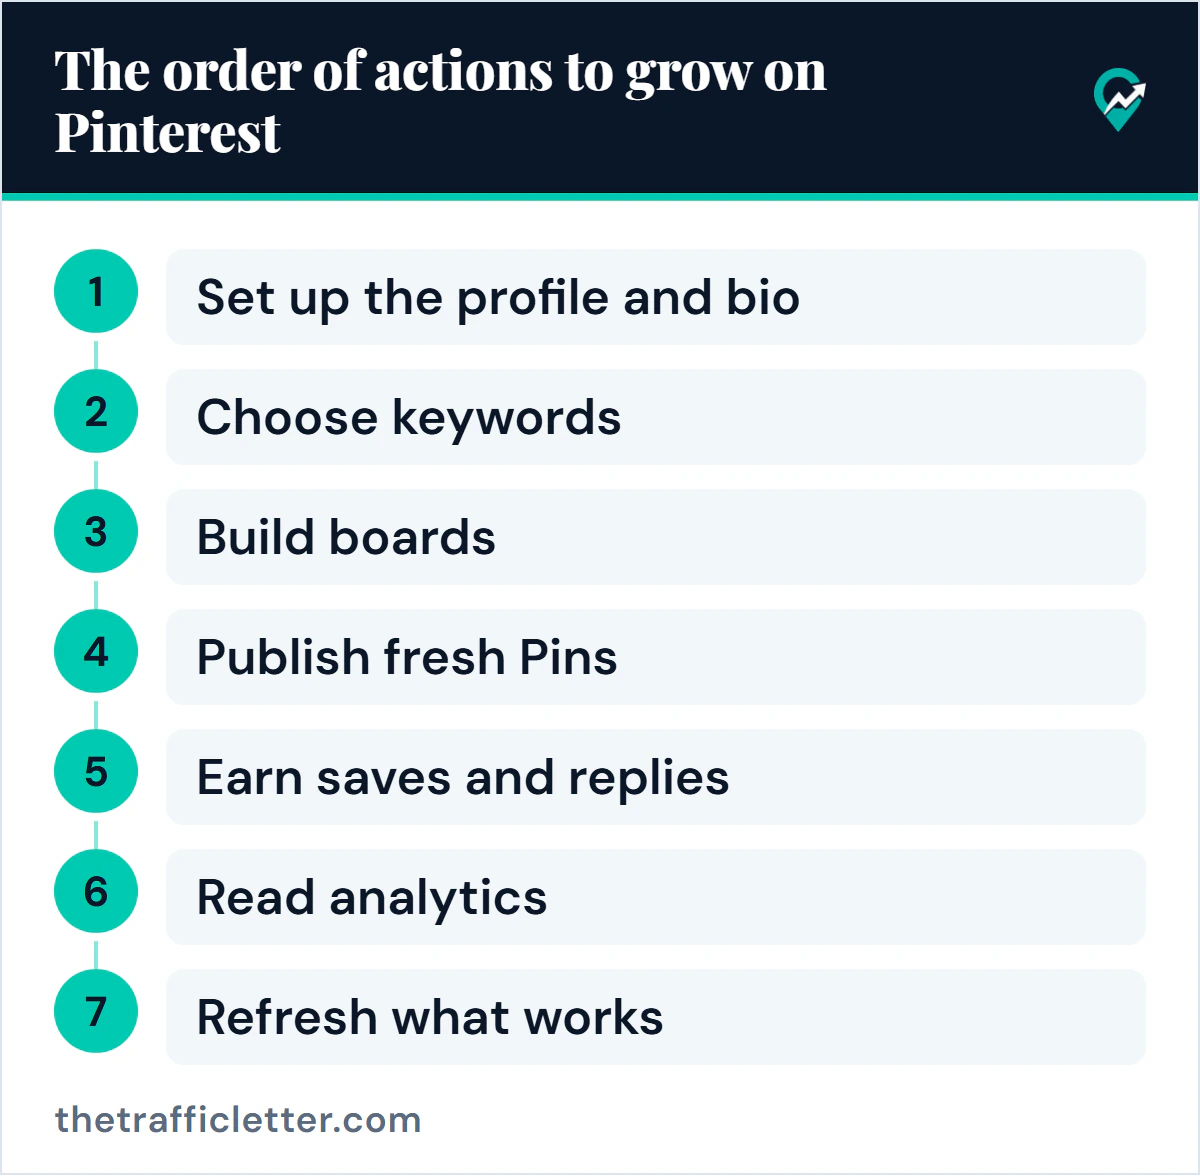
Growing on Pinterest is mostly a matter of doing a few things in the right order and then repeating them. This guide lays out that order from Pinterest’s own guidance, and each step points to the article that goes deeper. It is the growth chapter of our complete Pinterest traffic plan for bloggers (opens in a new tab), so if your profile and boards are not set up yet, start with the steps below in sequence.
What growth means on Pinterest
Pinterest does not define growth in the pages read for this guide, so this article uses the measures Pinterest itself reports. Pinterest Analytics lists impressions (the number of times your Pins were on screen), saves, Pin clicks, outbound clicks and follows. Growth here means those numbers moving up over time, with outbound clicks mattering most if you want readers on your blog.
It also helps to know how Pinterest decides what to show. Its beginner page for creators says content is displayed based on engagement signals and topics rather than ranked chronologically, and that your content keeps appearing for relevant audiences over time, long after the day you post it. It calls saves the strongest metric of how an idea is resonating. Pinterest Create adds that high-quality Pins are matched with people beyond just your followers who are looking for that content.
Pinterest Create describes four elements of discoverability: relevance, uniqueness, content quality and user engagement. The steps below follow them.
Step 1: Set up a profile that explains itself
Everything else builds on a business account, because Pinterest Analytics needs one. Fill in the name, username and About text with the words your audience searches. Pinterest Create says a clear, relevant username makes you easier to find, and that keywords in your bio can help new people find your profile.
Go deeper: our guide to creating a Pinterest business account (opens in a new tab) covers the account and every profile field, and our article on writing your Pinterest bio (opens in a new tab) covers the About text and its 500 character limit. Claiming your blog comes at this stage too, using the methods in our website claiming guide (opens in a new tab).
Step 2: Choose the keywords you will build on
Relevance is the first element Pinterest names: each Pin should clearly show what it is about, with a descriptive title and strong keywords in the description. That is only possible if you know the phrases first. Pinterest also points to its trends tools, Pinterest Trends and Pinterest Predicts, to spot topics people are starting to search for.
Write down one main keyword for each topic of your blog and a few related phrases. Go deeper: our guide to researching keywords before you build (opens in a new tab) walks through the research, and the article on where keywords go in Pin text (opens in a new tab) explains how Pins rank in search.
Step 3: Build boards around your topics
Boards are collections of Pins, and people can find boards in search too. Pinterest’s business blog advises giving every board a proper title and description in clear, descriptive language. Pinterest Create’s fundamentals page goes further: use a short title to avoid truncation, include relevant keywords in the title and description, keep the theme niche and specific (its example is “vegan breakfast recipes”), and when relevant use sections and aim for 20 to 100 Pins per board or per section. It also says to add relevant Pins regularly and to refresh evergreen boards.
Go deeper: these patterns for naming your boards (opens in a new tab) come with examples, and the board structure guide for bloggers (opens in a new tab) covers sections and how many boards to start with.
Step 4: Publish fresh Pins with every field filled in
Fresh content is the engine of the plan. Pinterest’s business blog says fresh Pins keep your audience engaged and help you reach new people regularly, and advises adding content every week. It also says to focus on the content rather than on a specific number of Pins per week, a point covered in how often to pin and what is fresh (opens in a new tab). Pinterest Create’s uniqueness element adds that the algorithm highlights original ideas and imagery that are new to the platform.
For each Pin, fill in every field. Pinterest’s guidance says some fields do not show to people but power its recommendation engines, that you should always include a Pin title and description with relevant keywords, and that you should add topics when the option appears. Quality counts as well: sharp, well-lit visuals, working links and a Pin that looks good on both desktop and mobile.
To keep the rhythm, Pinterest’s fundamentals page suggests a content calendar with a balanced mix of evergreen, trending and seasonal ideas, and says to plan it 45 to 60 days in advance. Our article on what Pinterest says about posting times (opens in a new tab) shows how to place seasonal Pins on that calendar. Pinterest Create also suggests scheduling tools for planning and bulk-uploading, and its Community Guidelines point to approved partner tools for anything automated. The step-by-step Pin scheduling guide (opens in a new tab) covers the native scheduler, bulk upload and when an outside tool is worth it.
Go deeper: a formula for Pin descriptions (opens in a new tab) comes with examples, and making Pins with AI (opens in a new tab) shows which steps to delegate.
Let AI plan the text of your next Pins
Planning titles and descriptions is quick work for an AI assistant. These prompts work in ChatGPT, Claude, Gemini or any AI assistant. Replace the text in square brackets first.
Prompt 1, a plan of Pin titles and descriptions:
I run a blog about [your niche] for [your audience]. My main keyword for this topic is [your main keyword], and related phrases are [phrase 1] and [phrase 2].

Plan [number of Pins you can publish this week] new Pins for the blog post at [post title].

Rules:
- Each Pin has a different angle on the same post, with a different title.
- Each title is a plain phrase a person would type in Pinterest search, with the keyword near the start. No clickbait, no promises of results.
- Each description is 1 to 2 sentences that say what the Pin shows and what the reader gets from the post, using the keyword once and no hashtags.
- Do not invent facts, numbers or claims that are not in the post summary: [two sentences about the post].

Output: a table with the columns "Pin angle", "Title" and "Description".
Prompt 2, a board plan:
I am planning the boards of my Pinterest business profile for a blog about [your niche]. My main topics are [topic 1], [topic 2], [topic 3] and [topic 4].

Plan one board per topic.

Rules:
- The board name is a short phrase a reader would search for that topic. No puns, no emojis.
- The description is 1 to 2 plain sentences with the board's keyword used once.
- Suggest 5 Pin ideas for each board, each tied to a post idea from my blog.
- Plan each board so it can grow toward 20 to 100 Pins over time, which is the range Pinterest suggests.

Output: one table per board with the columns "Board name", "Description" and "First 5 Pin ideas".
Check every suggestion against your keyword list and read it aloud before you use it.
Step 5: Encourage saves and answer comments
User engagement is the fourth element Pinterest names: saves, clicks, comments and shares make a published Pin show up more across the platform. Pinterest’s business blog says that when someone saves a Pin it is a signal that the Pin is useful, and that clear language and specific calls to action can encourage saves. It also advises watching your Pin comments and responding to people who need help. Pinterest Create adds that replying to a comment or highlighting it helps people feel engaged.
Go deeper: followers are one result of this work, and our article on getting followers on Pinterest (opens in a new tab) shows what they do and do not change.
Step 6: Read your analytics, then decide
Pinterest’s fundamentals page advises reviewing audience insights and past Pin performance before creating anything new, to see which themes, formats and keywords resonate. Pinterest Analytics needs a business account. On a desktop, Pinterest’s help page says to click the hamburger icon at the top-left of the page and, under Analytics, select Overview. In the app, tap your profile picture at the bottom-right, tap the chart bar icon at the top-left corner and select Analytics. For what every report and metric means, see our overview of Pinterest Analytics (opens in a new tab).
Each Pin shows impressions, saves, Pin clicks, follows and outbound clicks. A simple monthly review is enough: list the Pins with the most saves and outbound clicks, note their topic and design, and plan the next Pins in that direction. Our monthly review routine in the traffic guide (opens in a new tab) follows the same loop. If you are growing traffic toward display ads, compare your numbers with what a network asks, as in Ezoic’s requirements and the Incubator program (opens in a new tab).
Step 7: Refresh what works
Pinterest’s fundamentals page recommends an audit at a regular cadence: use Analytics to find top-performing content to build on, and flag outdated or low-performing assets for fresh creative or stronger keywords. It also describes A/B testing, where you change one element at a time, such as copy, visuals or format, and compare results. Pinterest Create’s relevance tip says the same in plain words: refresh your boards by adding new Pins regularly and use your analytics to fine-tune.
What not to do
Pinterest’s Community Guidelines on spam rule out several shortcuts that promise fast growth: automation that Pinterest has not explicitly approved, buying or selling engagement, operating multiple accounts or coordinating with other people to manipulate the platform, “stuffing” irrelevant keywords, and repetitive or irrelevant comments. The guidelines were last updated in May 2026, and the page announces an update effective November 12, 2026, so check the Spam section again after that date.
The order at a glance
| Step | What to do | Where to go deeper |
|---|---|---|
| 1 | Set up the profile and bio | Business account guide and bio guide |
| 2 | Choose keywords | Keyword research and Pinterest SEO |
| 3 | Build boards | Board names and board structure |
| 4 | Publish fresh Pins | Pin descriptions and Pins with AI |
| 5 | Earn saves and replies | Followers guide |
| 6 | Read analytics | Traffic guide, monthly review |
| 7 | Refresh what works | Board structure and Pin descriptions |
Right after: your next actions
- Finish the profile first: if you have no business account yet, follow the account setup steps (opens in a new tab), then write the About text with the guide to your Pinterest bio (opens in a new tab).
- Make your keyword list and your first boards with the board plan prompt above.
- Publish your first week of Pins, then come back to the analytics step in a month. Once visits arrive, read about the options Pinterest documents for earning (opens in a new tab).