

Boards are the shelves of your Pinterest profile. A clear structure makes it easy for a visitor to see what you cover, and it keeps your own publishing simple because every new Pin has an obvious home. This guide is one part of our larger walkthrough on getting traffic from Pinterest to your blog (opens in a new tab).
How many boards should a blogger start with?
Pinterest gives no required number, so the sensible answer is to let your blog decide. Count the main topics your posts cover and make one board for each. A blog about home organization might begin with boards for kitchen, closet and small spaces. A food blog might begin with dinner, baking and meal prep.
Keep the first set small. Every board needs Pins that belong in it, and a board with three Pins looks unfinished. You can always add a board when a new topic grows.
Step 1: Separate main boards from niche boards
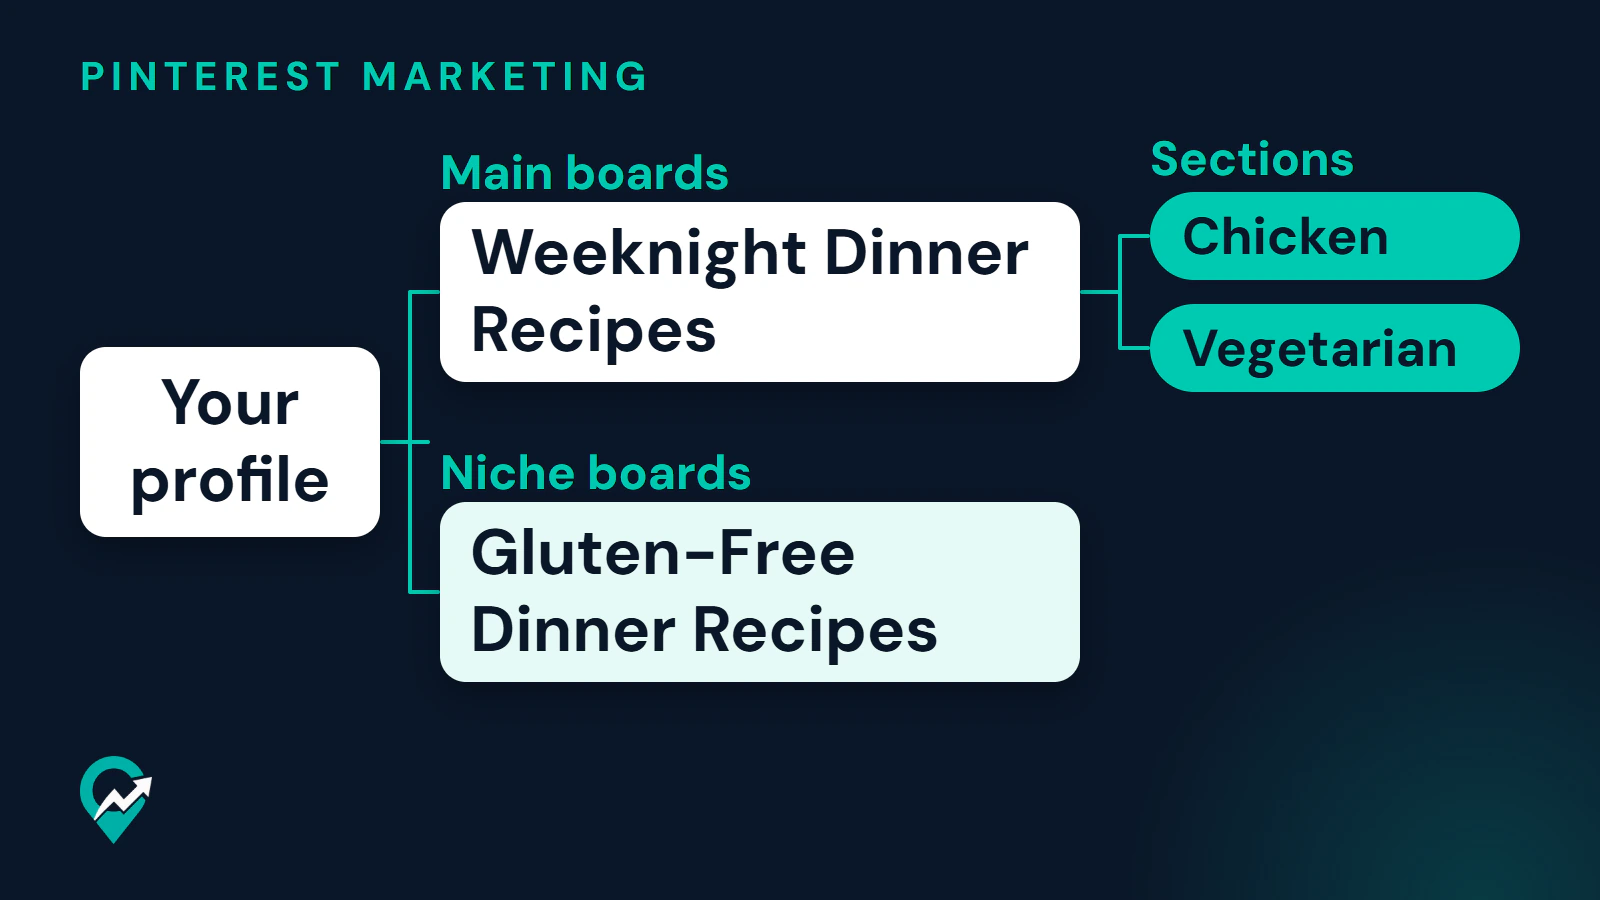
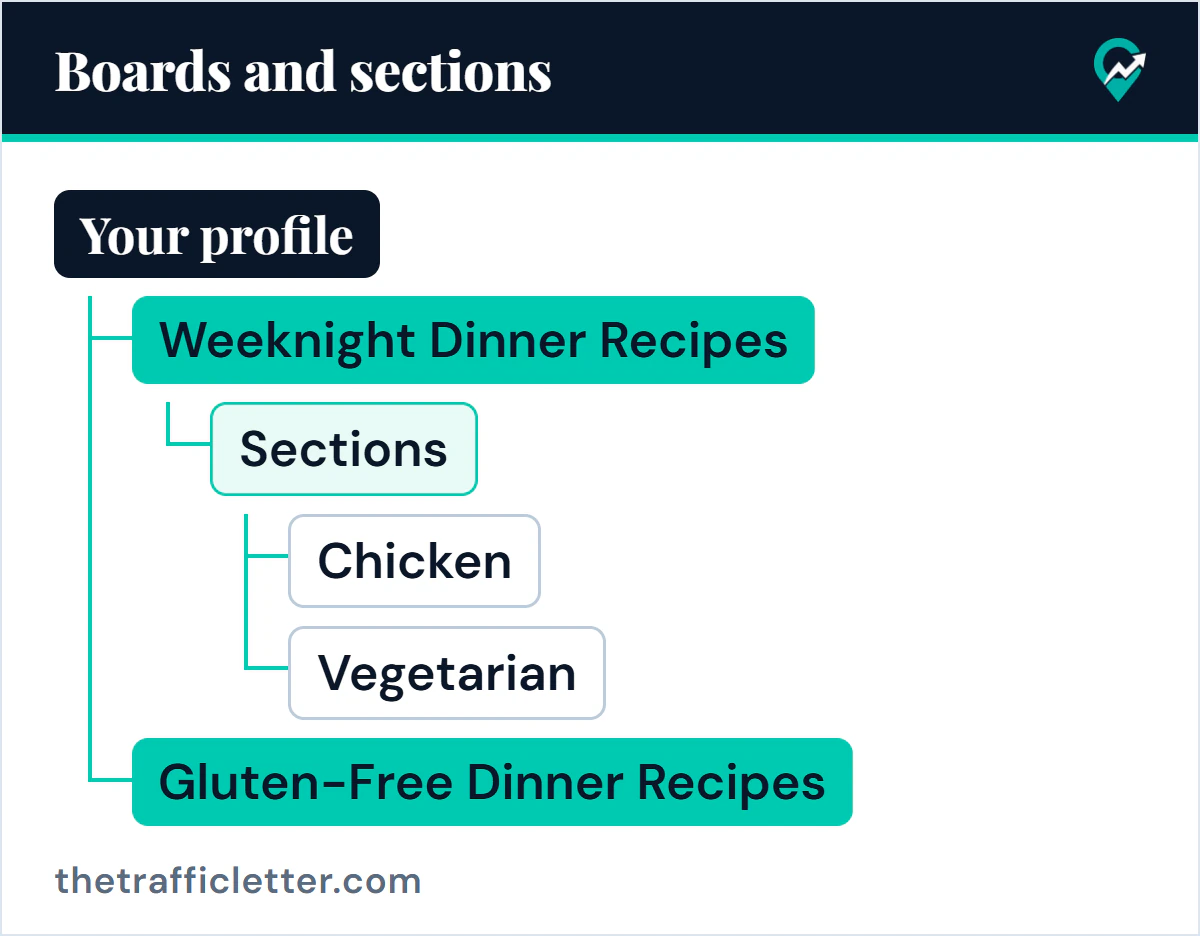
Main boards cover a broad topic from your blog, such as “Easy Weeknight Dinner Recipes”. Niche boards cover a narrower topic, such as “Gluten-Free Dinner Recipes”, and are worth creating when you have enough content to fill them.
A quick test: if the subtopic has its own set of posts and would make sense as a search on its own, give it a board. If it is only a small part of a larger topic, use a section instead.
To create a board, open the plus icon in the navigation bar, select Board, enter a name and click Create. Our guide to Pinterest board names (opens in a new tab) explains how to word each one so it can be found in search.
Step 2: Use sections for subtopics
Pinterest describes board sections as a way to organize Pins within your board. To add one, open a board, select the plus icon, choose Section and give it a name. Then use Organize at the top of the board to select the Pins you want to move and choose the section to move them into.
A “Weeknight Dinner Recipes” board could have sections for chicken, vegetarian and slow cooker meals. Visitors who open the board see Pins grouped by what they want to cook, and you avoid creating three thin boards.
Name sections with plain words that match the content. Sections suit subtopics of one main idea, not unrelated material.
Step 3: Set the order of your boards
Pinterest says you can arrange boards in a way that works for you. Open your profile, choose Saved, and use the filter icon to sort A to Z, by last saved, or by Custom, which lets you move boards manually.
For a blog, custom order is usually the better choice. Put your most important topics first, the ones that match your best posts, so a new visitor sees them before anything else. To reorder, drag a board to a white space between two others. Pinterest may ask you to confirm that you want to lose a previous customization.
In the app, tap and hold a board, choose the reorder icon, drag the boards where you want them and tap Done.
Step 4: Edit board names, descriptions and covers
Pinterest lets you change a board’s name, description and cover at any time, and the header image on mobile. Open the board, select the ellipsis icon and choose Edit board.
Revisit this step after you have set the structure. Use the name for the search phrase, the description for a plain explanation, and a cover that matches your Pin style so the profile looks consistent. Picking the phrase itself is easier with free ways to find a search phrase (opens in a new tab). How board text fits with Pin titles and the rest of your profile is covered in our Pinterest SEO for boards and Pins (opens in a new tab).
Step 5: Deal with old and off-topic boards
Over time most accounts collect boards that no longer match the blog. You have three options:
- Move useful Pins into a better board or section, then retire the old board.
- Archive a board you might use again. Pinterest says archived boards disappear from your public profile, you cannot save Pins to them, and you can unarchive whenever you wish.
- Delete a board only when you are sure. Deleting removes all its Pins, and you have seven days to restore it from Recently deleted.
If a personal board has nothing to do with your blog, you can also make it secret when creating or editing it, so it stays out of your public profile. Pinterest offers this option on board creation.
Step 6: Save each new Pin to the right board
Every new Pin for a post should go first to the board that matches its topic. If it fits a section, move it there. If you later create extra Pins for the same post, you can save them to other relevant boards, as long as the board really suits the topic.
Avoid saving a Pin to a board only because it is popular. Boards that stay on topic are easier for visitors to understand, and the Pins inside agree with the board name.
A simple review routine
Every few months, open your profile and ask these questions:
- Does each board name still describe what is inside?
- Are there boards with very few Pins that could become sections?
- Are the boards for your strongest topics at the top?
- Are there boards you no longer use that should be archived?
Pinterest Analytics, available with a free Pinterest business account (opens in a new tab), shows your top boards, which helps you decide where to add more Pins. The full measuring routine is in our guide to measuring Pinterest traffic (opens in a new tab). Each Pin you add to a top board still needs its own text, and how to write a Pin description (opens in a new tab) covers that.
Common mistakes when organizing boards
- Creating many boards before there are Pins to fill them.
- Using sections for unrelated topics.
- Leaving the board order as it happened to form.
- Deleting boards instead of archiving them.
- Keeping vague board names that never change. Use the board name method with examples (opens in a new tab) to fix them.